yay!!! I am so excited, Finally reveal week is here. Not just I get to show you all what our Pantry went thru, I also get to see what other bloggers did to transform their space for under $100. This is the first time I joined Erin's challenge, I thoroughly enjoyed it. Thank you So much to Erin from lemons, lavender and Laundry for hosting this challenge.
Per the plan I shared during week1. I was able to accomplish most of it.
-Extend the shelves to wrap around. There is about 9" space on the sides.
- Paint and stencil the back
- Paint the shelves
- Build/Buy lazy Susan to access/fully utilize the corners
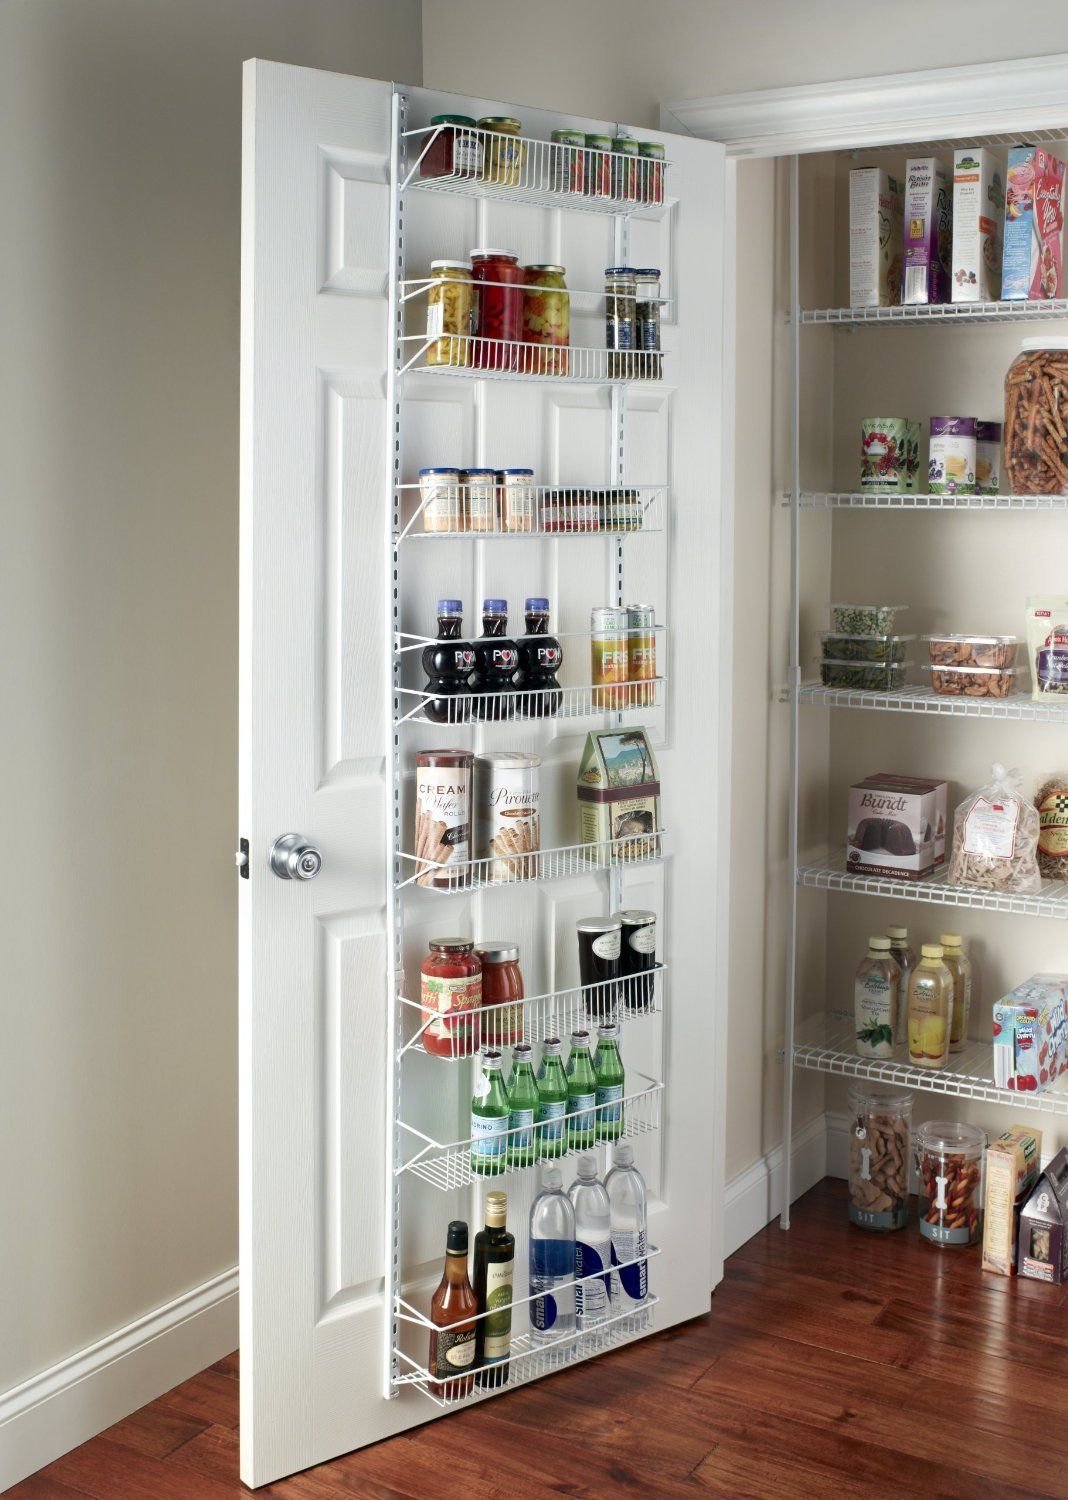
- Utilize the pantry door
- Explore Storage ideas for different groups.
- Maximize the vertical space.
Here comes the Pantry in its full glory.

One more

I absolutely heart this buy from Amazon which stores my flours and sugar. With very little money left in the budget, I could buy only 4 of these.

I was able to organize the containers based on their frequency of use. The ones with most use occupied the lower shelves and less used ones on the upper shelves.

Few bins that I had before, got a makeover with the fabric I had at home and house electronic appliances/parts , kids snacks and unopened food items.


I was able to pull out all my kitchen appliances from the other cabinets and store all of them in the pantry. No more rummaging thru all the cabinets to find one (Happy Dance)

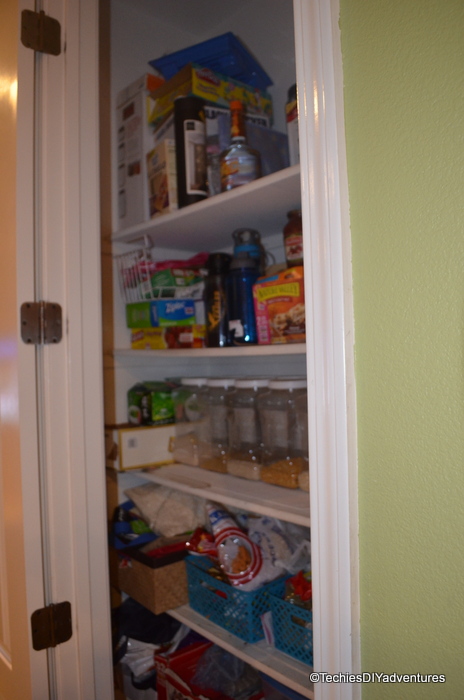
Here is a comparison of the pantry before and after

Here is how I did on the budget
- Vertical Storage Shelf for the Pantry Door - $50.40
- Reusable Chalkboard labels - $6.99
- Glass Jars - $29.69
- Paint for the wall, shelves and stenciling - $1.00
- Stencil - $0.00
- Wood for the Shelves - $0.00
- Nails etc for the shelves - $8.00
Total :- 96.08 $
I am smitten by the Pantry. I keep opening it for no reason and keep staring it.
Well for now, I am off to checkout the beautiful work of all other amazing bloggers.
Thanks for stopping by,

Per the plan I shared during week1. I was able to accomplish most of it.
-
- Build/Buy lazy Susan to access/fully utilize the corners
Here comes the Pantry in its full glory.
One more
I absolutely heart this buy from Amazon which stores my flours and sugar. With very little money left in the budget, I could buy only 4 of these.
I was able to organize the containers based on their frequency of use. The ones with most use occupied the lower shelves and less used ones on the upper shelves.
Few bins that I had before, got a makeover with the fabric I had at home and house electronic appliances/parts , kids snacks and unopened food items.
The side shelves which we added made the day and night difference in the appearance of the pantry. All the items that are needed but not very appeasing to eyes are stored in the side shelves.
I was able to pull out all my kitchen appliances from the other cabinets and store all of them in the pantry. No more rummaging thru all the cabinets to find one (Happy Dance)
Here is a comparison of the pantry before and after
Here is how I did on the budget
- Vertical Storage Shelf for the Pantry Door - $50.40
- Reusable Chalkboard labels - $6.99
- Glass Jars - $29.69
- Paint for the wall, shelves and stenciling - $1.00
- Stencil - $0.00
- Wood for the Shelves - $0.00
- Nails etc for the shelves - $8.00
Total :- 96.08 $
I am smitten by the Pantry. I keep opening it for no reason and keep staring it.
Well for now, I am off to checkout the beautiful work of all other amazing bloggers.
Thanks for stopping by,